

Barre chords are one of the most powerful things you can learn as a guitar player. Why? Well, they’re the key to playing 90% of the chords you’ll come across. (Maybe even more.)
So if you encounter a song with an F or Bm chord, you can play it using barre chords! Need to play chords with exotic names like Bb7, C# or Abm7? You can play them with barre chords!
Now, this site focuses a lot on developing essential music skills, and for guitarists, barre chords are definitely part of that!
Barre chords can take some practice to master though. It all comes down to two things:
- A little bit of strength in your hand
- Proper technique
For most people, it takes a while to get their barre chords right. Ask other guitarists and they’ll often tell you ‘just practice more’, which isn’t super helpful. Yes, barre chords do require practice, but there are a couple of technical tips that will make playing them easier and will help you jump this hurdle.
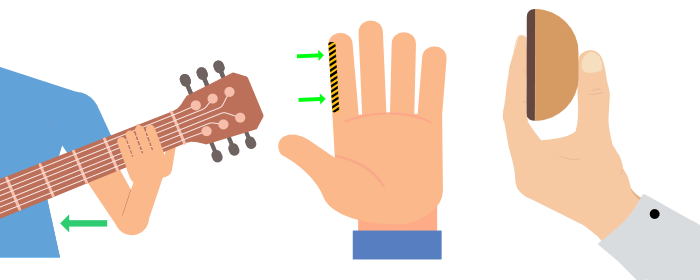
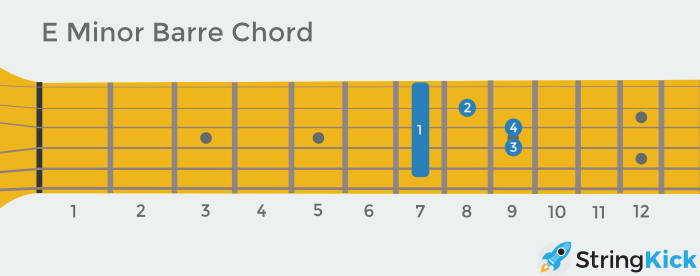
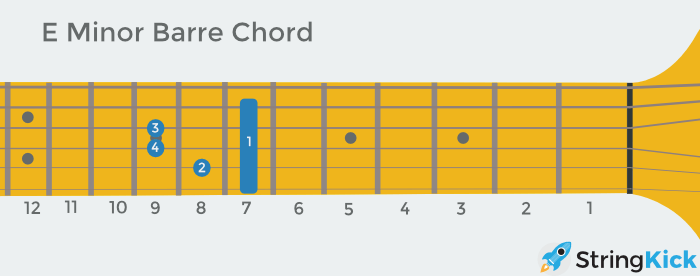
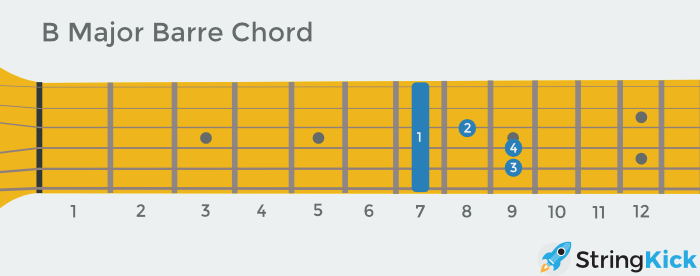
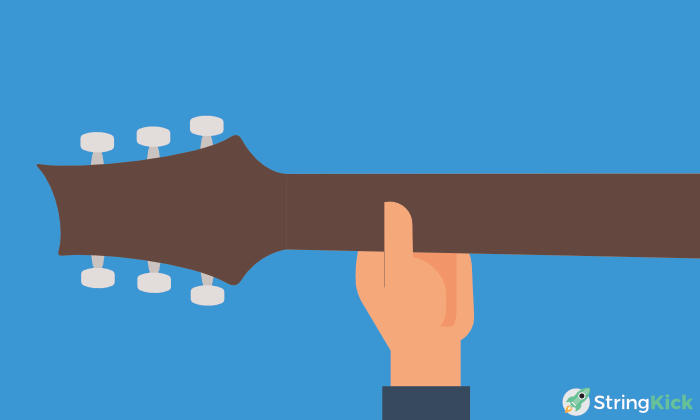
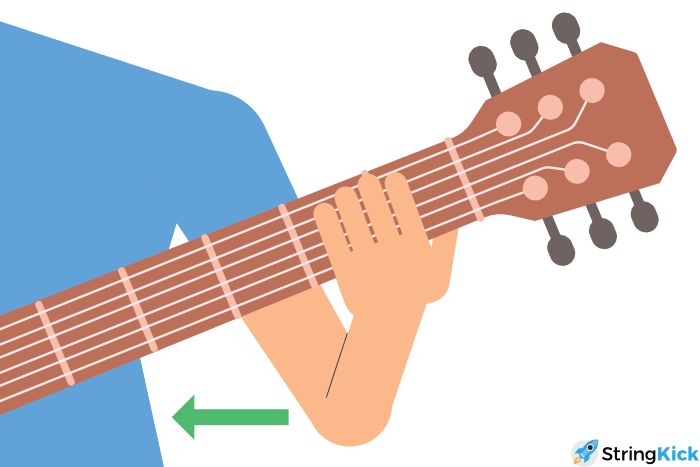
Just a preview of some of the technique tips in this guide!
So here’s what you’ll learn in this article.
You’ll learn what barre chords are and why they are so useful (introduction) and two tips you should know before you start learning barre chords (section 1).
I’ll then give you 8 tips to help you get your technique right (section 2), and discuss a couple of exercises to get the right technique in your system (section 3).
We’ll go into bar chord shapes (section 4) and take a look at Hendrix-style ‘thumb’ chord (section 5).
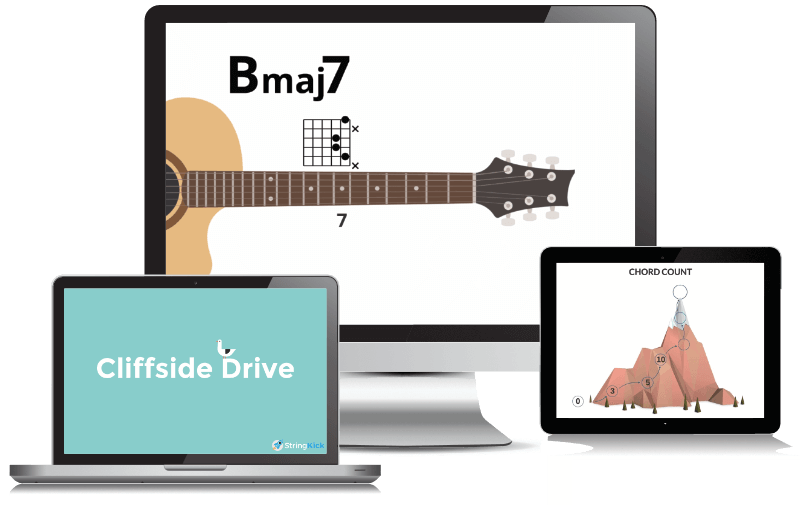
Finally, I’ll tell you about my course, Guitar Chord Bootcamp: Barre and Beyond, which teaches you to play barre chords anywhere on the fretboard (conclusion).
Don’t have time to read the full guide right now? Don’t miss out on the most important tips!
Click below to get a free, personalised guide to bar chords!


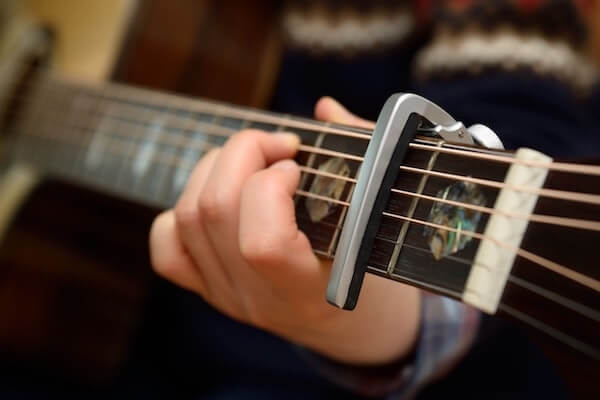


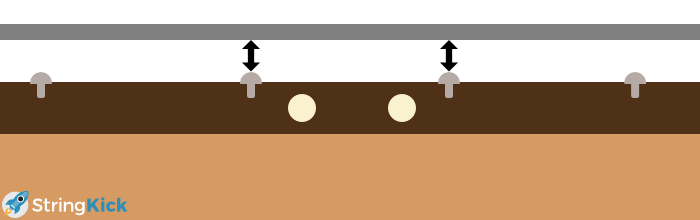


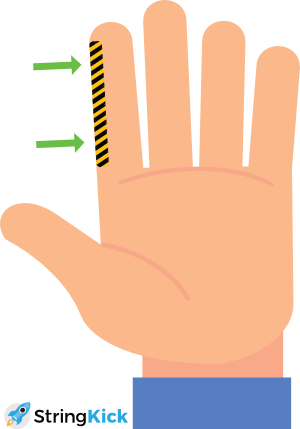
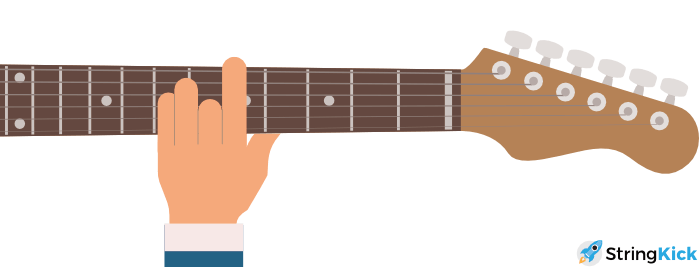
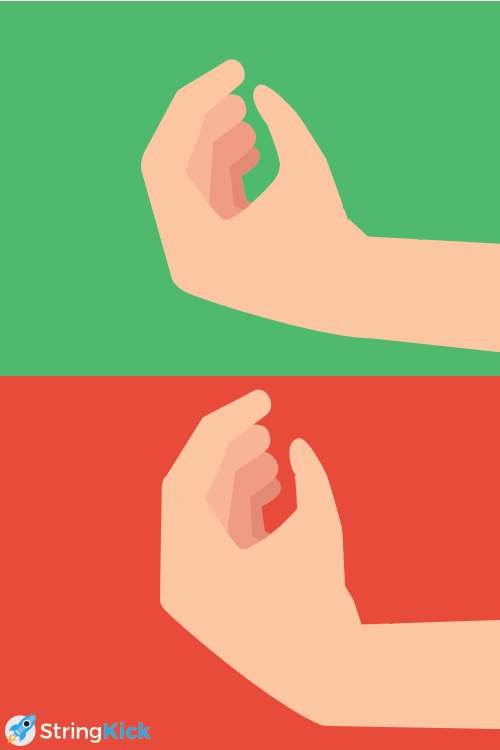
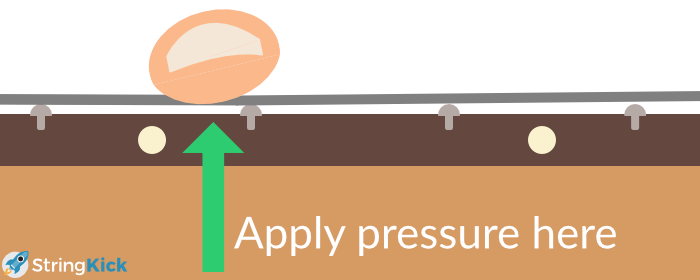 That should get the edge of your index finger in exactly the right position. Not on the fret, but very close to it. Part of your index finger might cover the fret, but you’re not applying pressure to it.
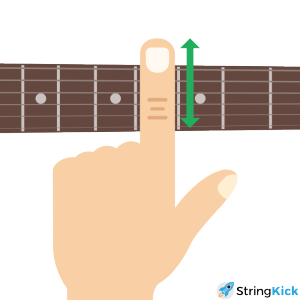 Sometimes a string can be lined up exactly with a crease in your finger and mute it. Moving your index finger a bit up or down can fix that. If you can’t hear one the top strings, experiment with how much your index finger sticks out above the fretboard.


![Title image for How to Read Chord Names and Symbols [Complete Guide]](https://www.stringkick.com/wp-content/uploads/2018/02/Read-Chord-Names-Symbols-Title-Image.png)